Building a lathe mounted sanding table
Ted Higgs
For around 30 years I have been using my trusty Record Power 10” sanding disk in my workshop and even converted it from sticky back disks to hook and loop. It has a very fast fixed speed, over 4000 revs. Unless great care is taken it very quickly burns the wood and wears out disks.
I was finally inspired to do something about it after watching one of Colwyn Way’s lockdown demos online, and saw that he had a flat table that mounted in the tool post. I noticed that he had a plate underneath and guessed it was from Axminster Tools, so I wondered if Father Christmas might make an early start this year? You’ll be pleased to know I persuaded the tea maker that this was an essential purchase together with a tool post and locking collar. All of these things can be made from MDF and a hose clip but wooden tool posts suffer from locking bolt fatigue and probably more ‘play’ over time.

The Sanding Disk
I started with the sanding disk by mounting a C jaws ring on the back of a piece of leftover worktop, followed by cutting out a 10” section on the lathe with a parting tool. I then ‘sealed’ the rough edges with ‘Star Wars’ tape (it has a light side and a dark side and holds the universe together) and then mounted a hook and loop backing which stuck very well on the worktop surface, and I finished that part by attaching a 120 grit disk.


The Table and Tool Post
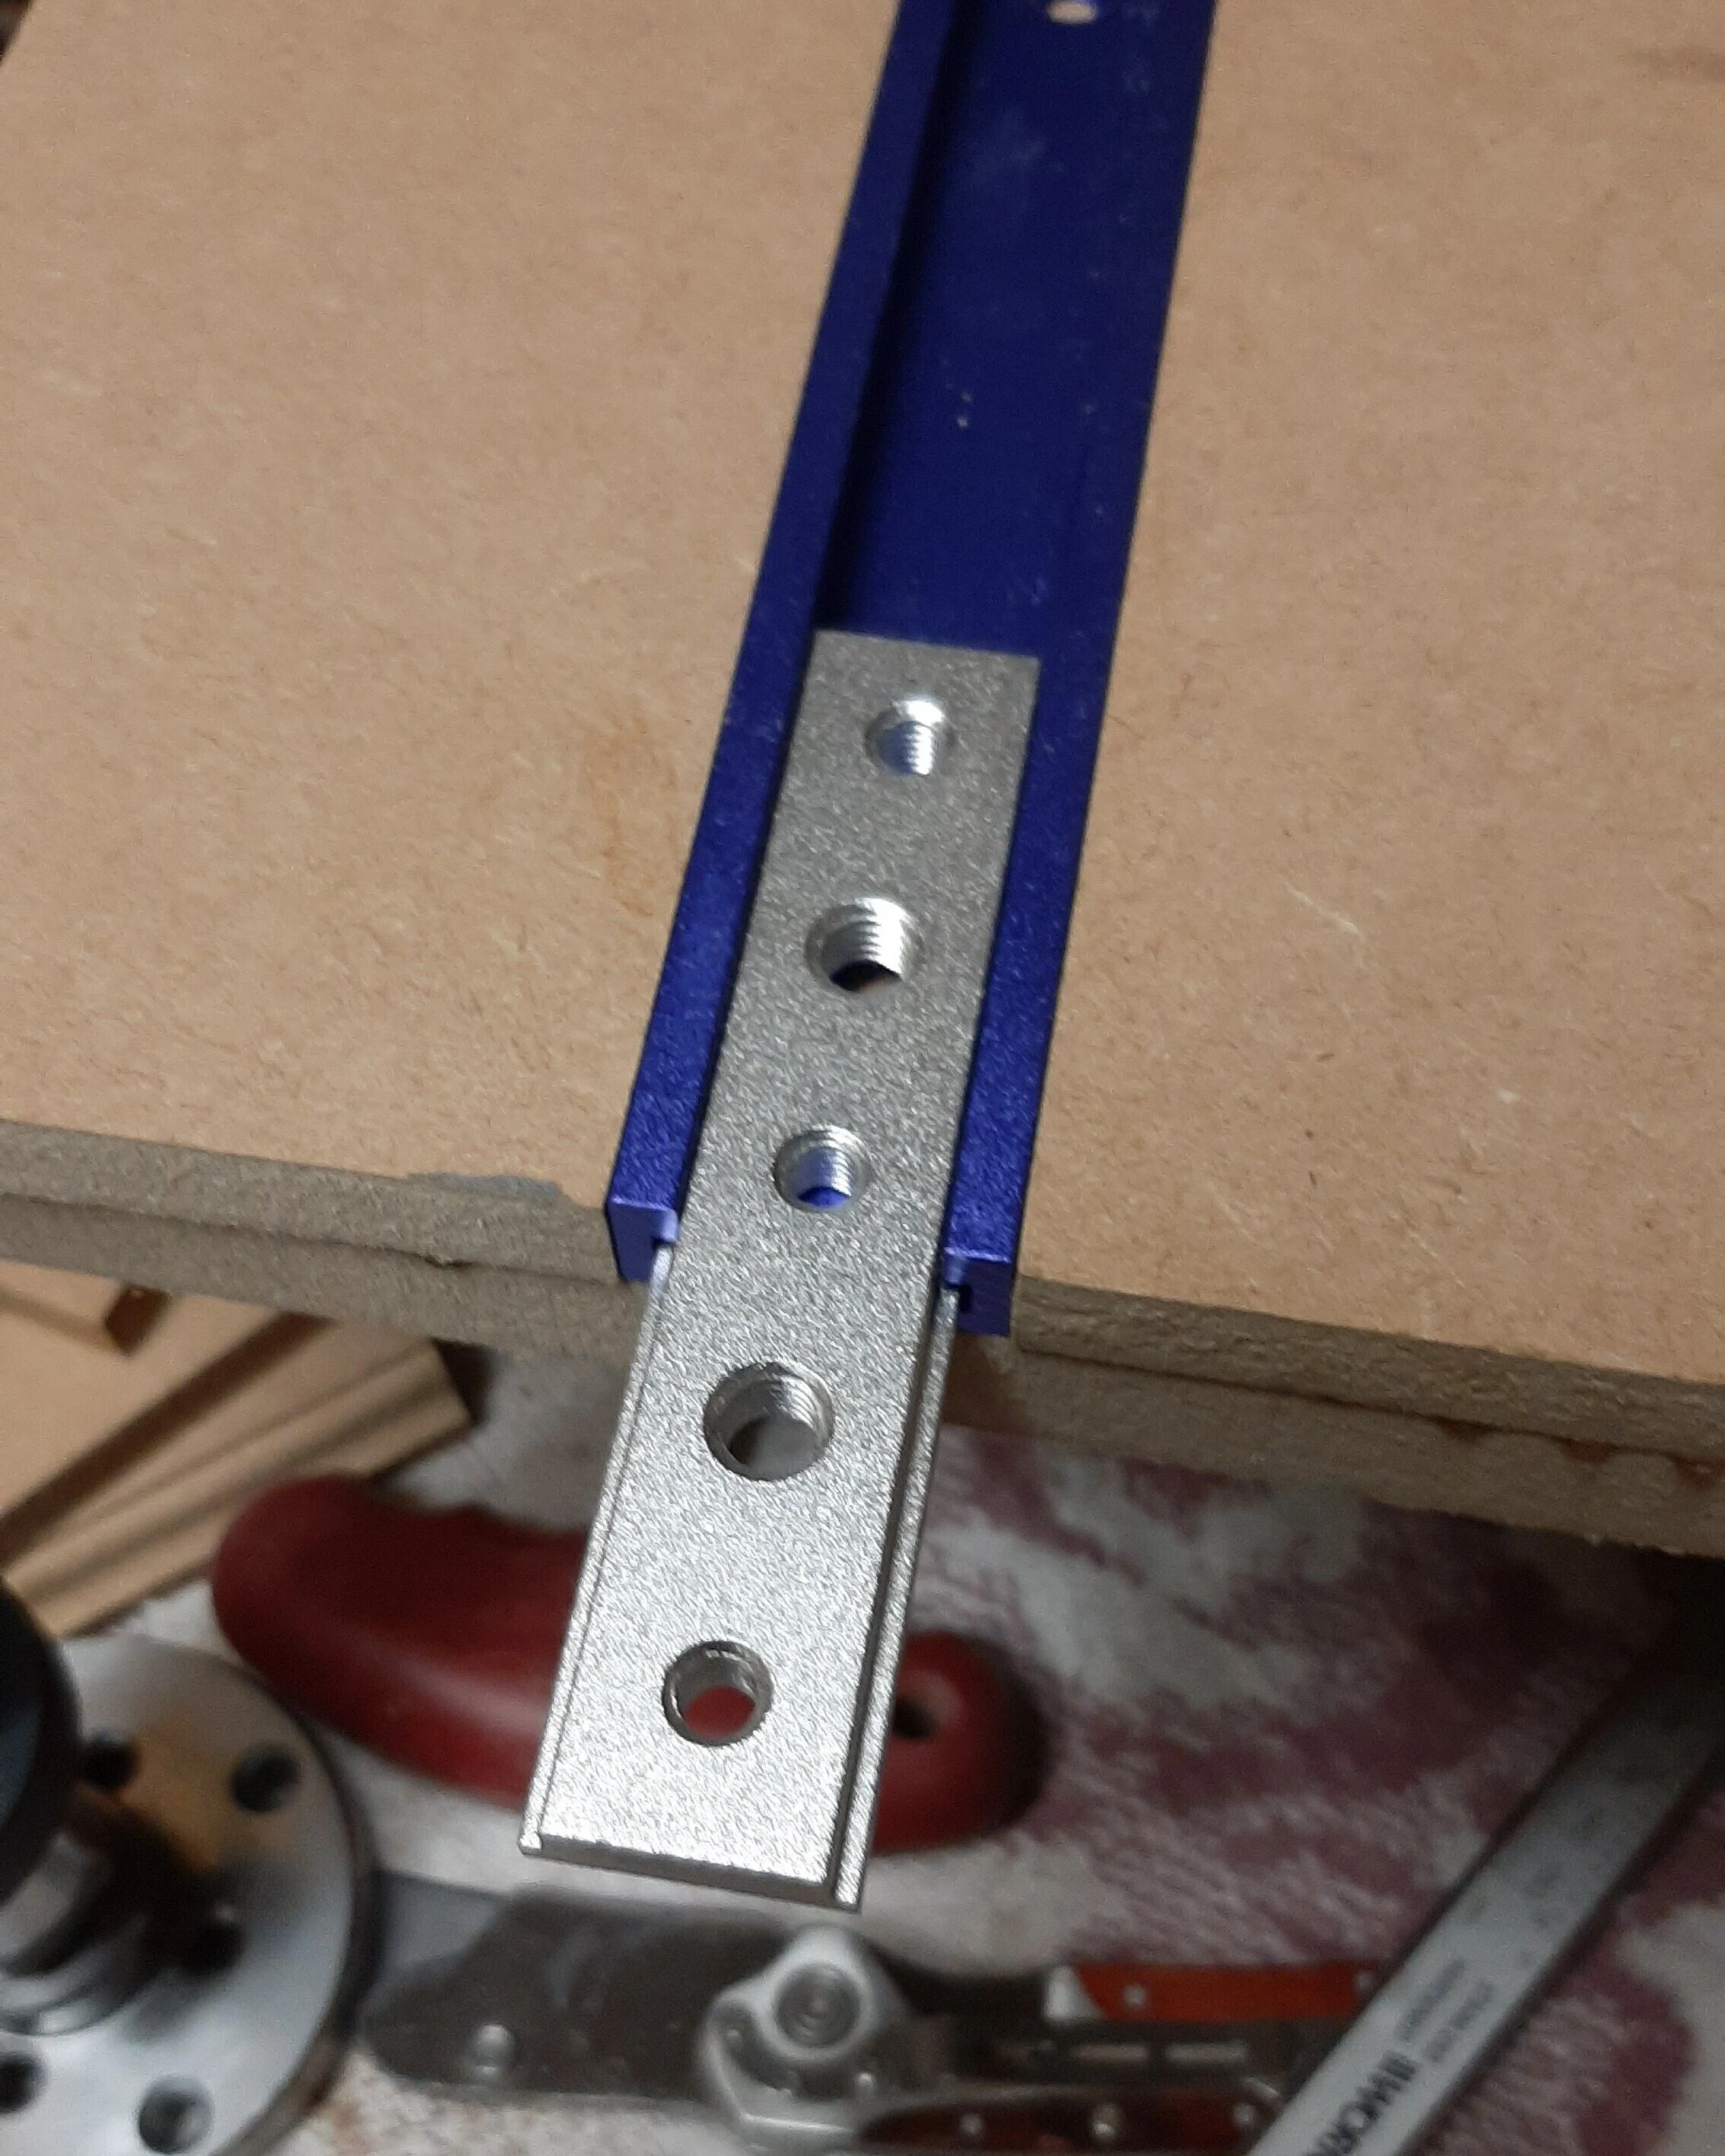
I wanted a little more precision than just a flat top as I want to do more segmented work, and so I decided to make the table with a T slot to take a sliding mitre fence. A little bit of research via Amazon and I found a 30cm T slot with a purpose made sled for around £11 including postage.

Instead of routing the slot on the MDF, and because it needed to be double thickness anyway, I decided to use the ‘sandwich method’ by cutting two sections of MDF and gluing them either side of the track on the base section. I realised that the track was just slightly proud of a standard 12mm board, so it was no trouble to just run the router across the slot and skin 1mm off. I then mounted the table onto the tool post.
The Mitre Fence
Next was the adjustable mitre fence to mount on the sled. To make the it adjustable, I needed a semi circular slot for a 6mm star bolt. To make that, I mounted a piece of MDF on the lathe and cut out circles using the parting tool. I then cut the circle section in half and glued a square end onto the two half circles. After sanding on the Record disk sander to ensure very straight edges, I glued the vertical fence in place. I mounted the assembly onto the sled with some spacer washers to ensure that the bottom edge of the vertical fence would slide across the table with no play.


Finishing off
Setting up is very quick and simple, as the table edges are perfectly parallel to the track. By moving the tool rest banjo so that the table just touches the sanding disk it does the job nicely. The fence can be set at any angle with a precision angle finder.
I now have a sander that is variable speed and also goes anti-clockwise unlike the elderly, but ever reliable Record Disk Sander. I plan to put a 60 grit disk on the Record for bulk removal.
