Taking a look back….
Ted Higgs
Whatever form it takes, there’s beauty in wood.
Ted reflects on the transition from marquetry to
wood turning


Images originally reproduced courtesy of the Chelmsford Marquetry Group with grateful thanks.
I had been a member of the Chelmsford Marquetry Group for around 20 years but finger arthritis made marquetry more difficult and so I wanted to try my hand at woodturning. When I joined the Chelmer Valley Woodturners I did a half evening presentation of using veneers on turned objects.
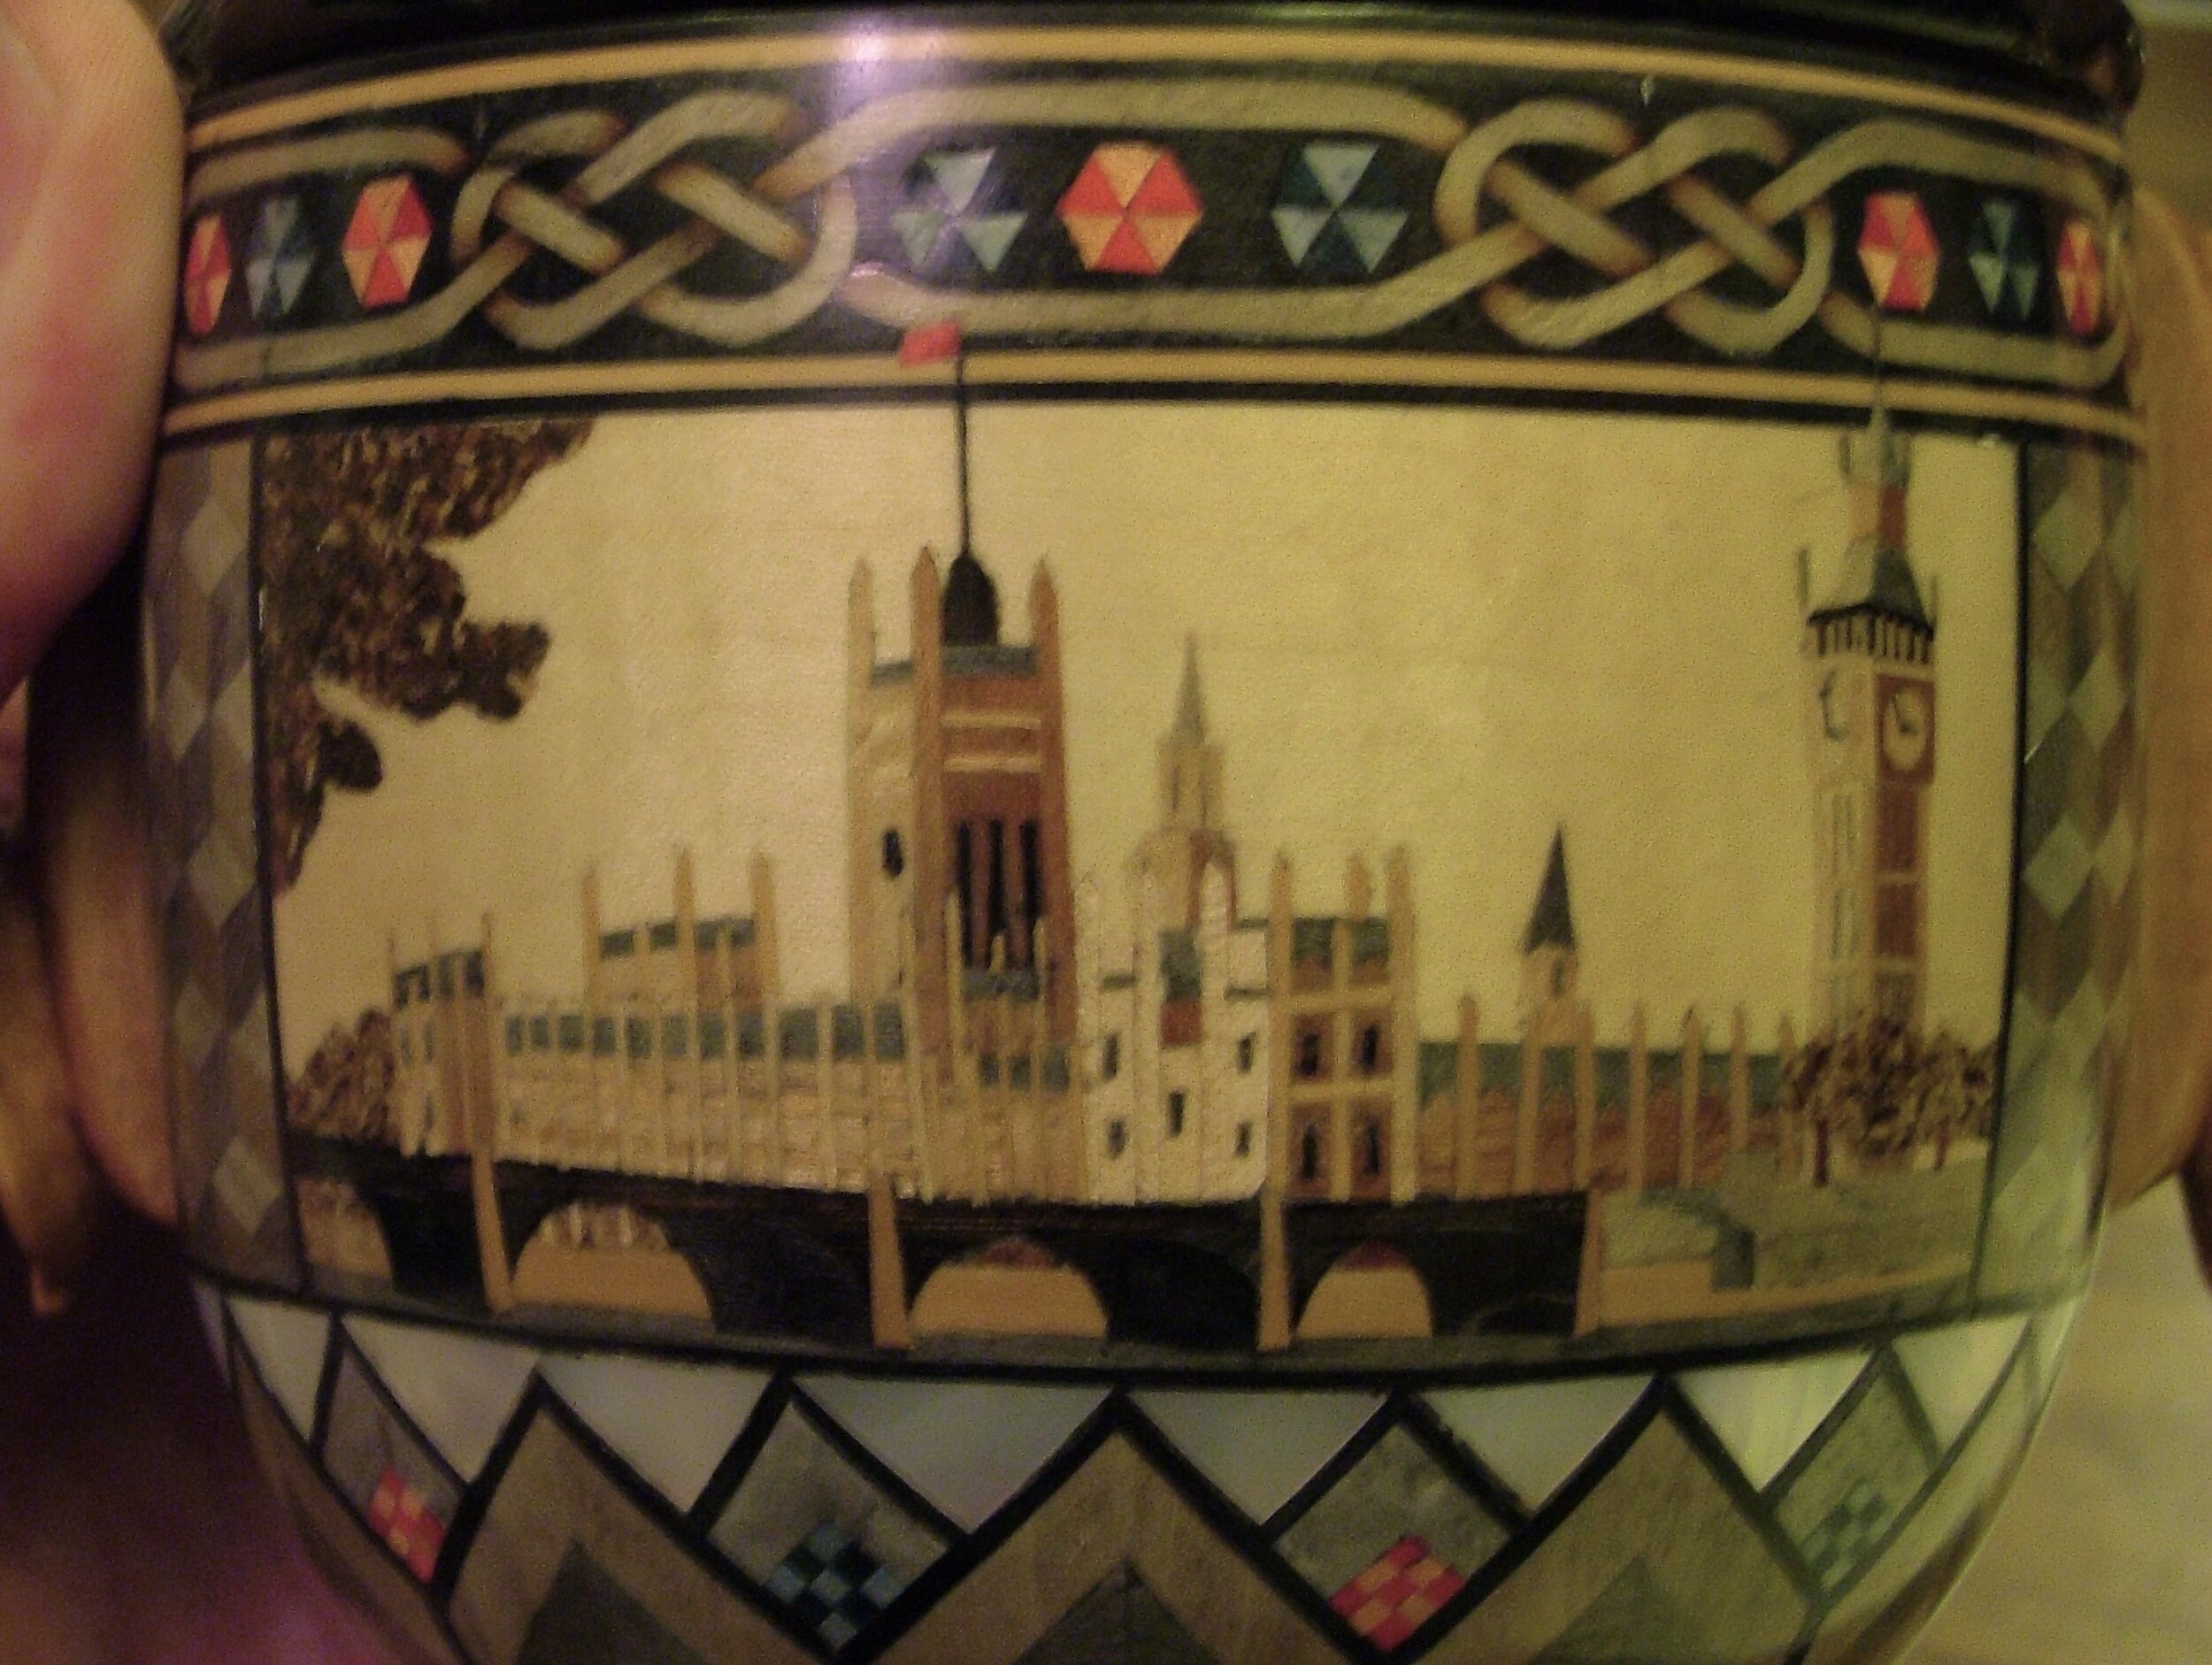
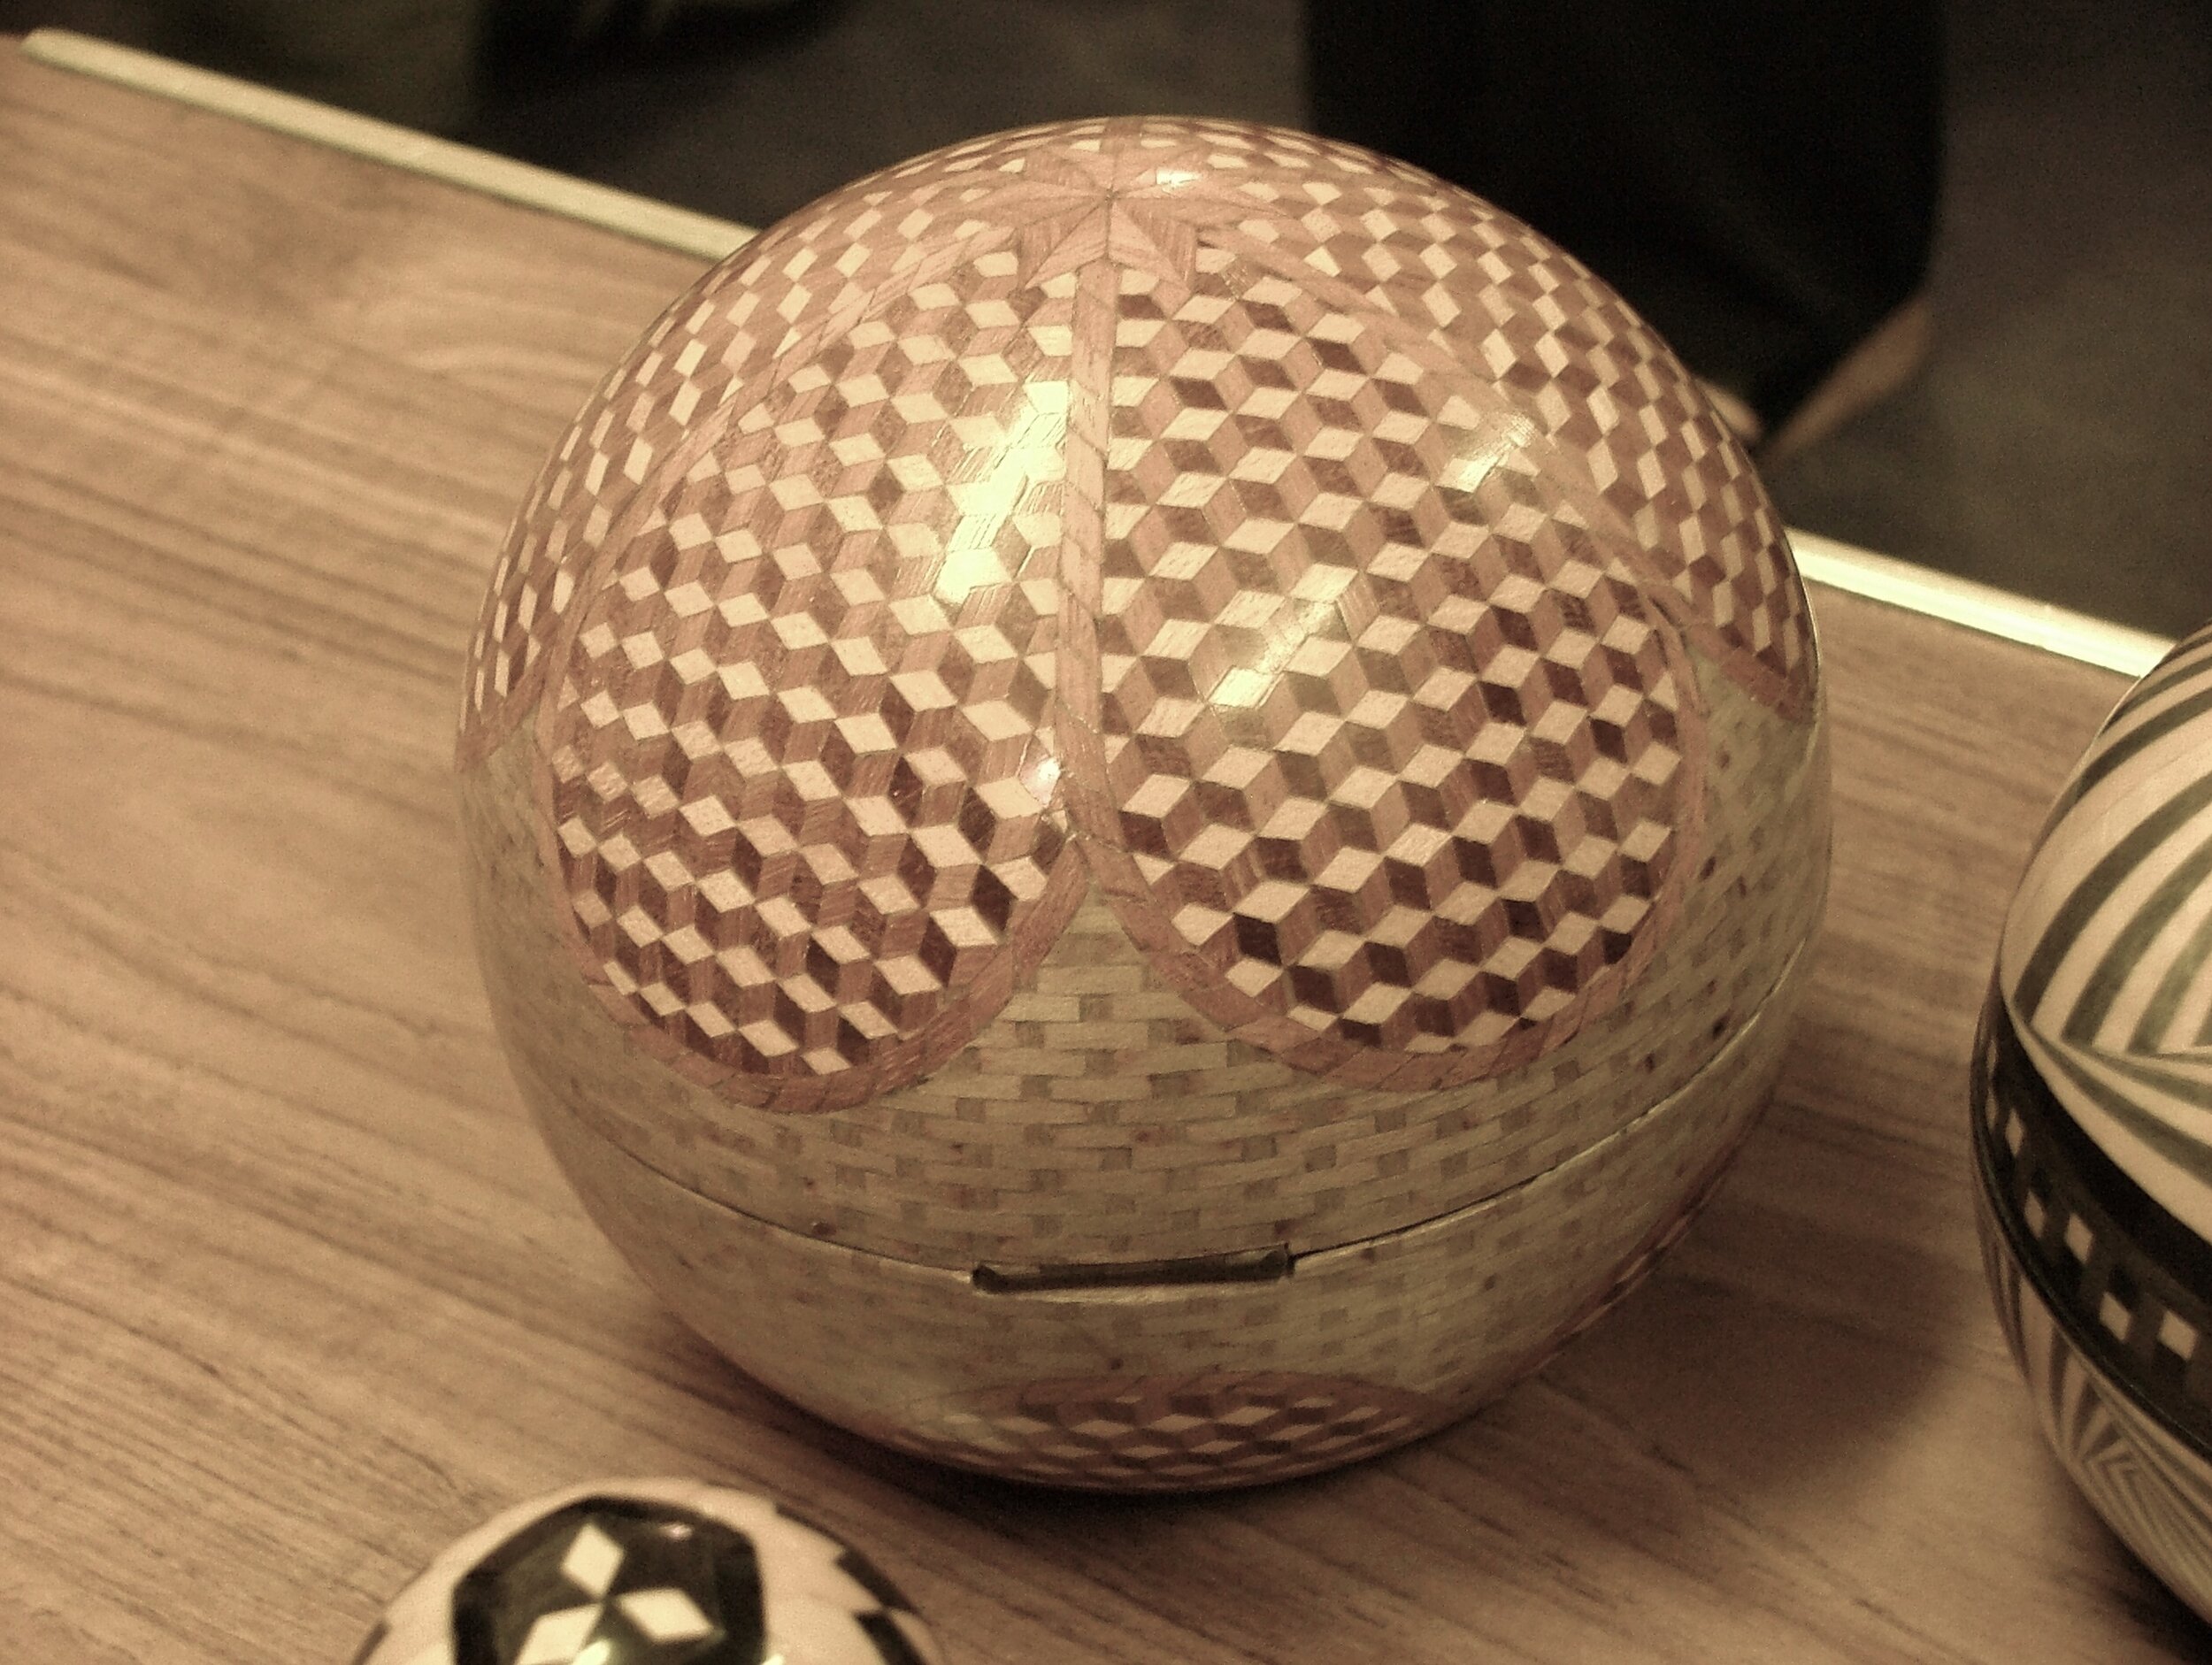
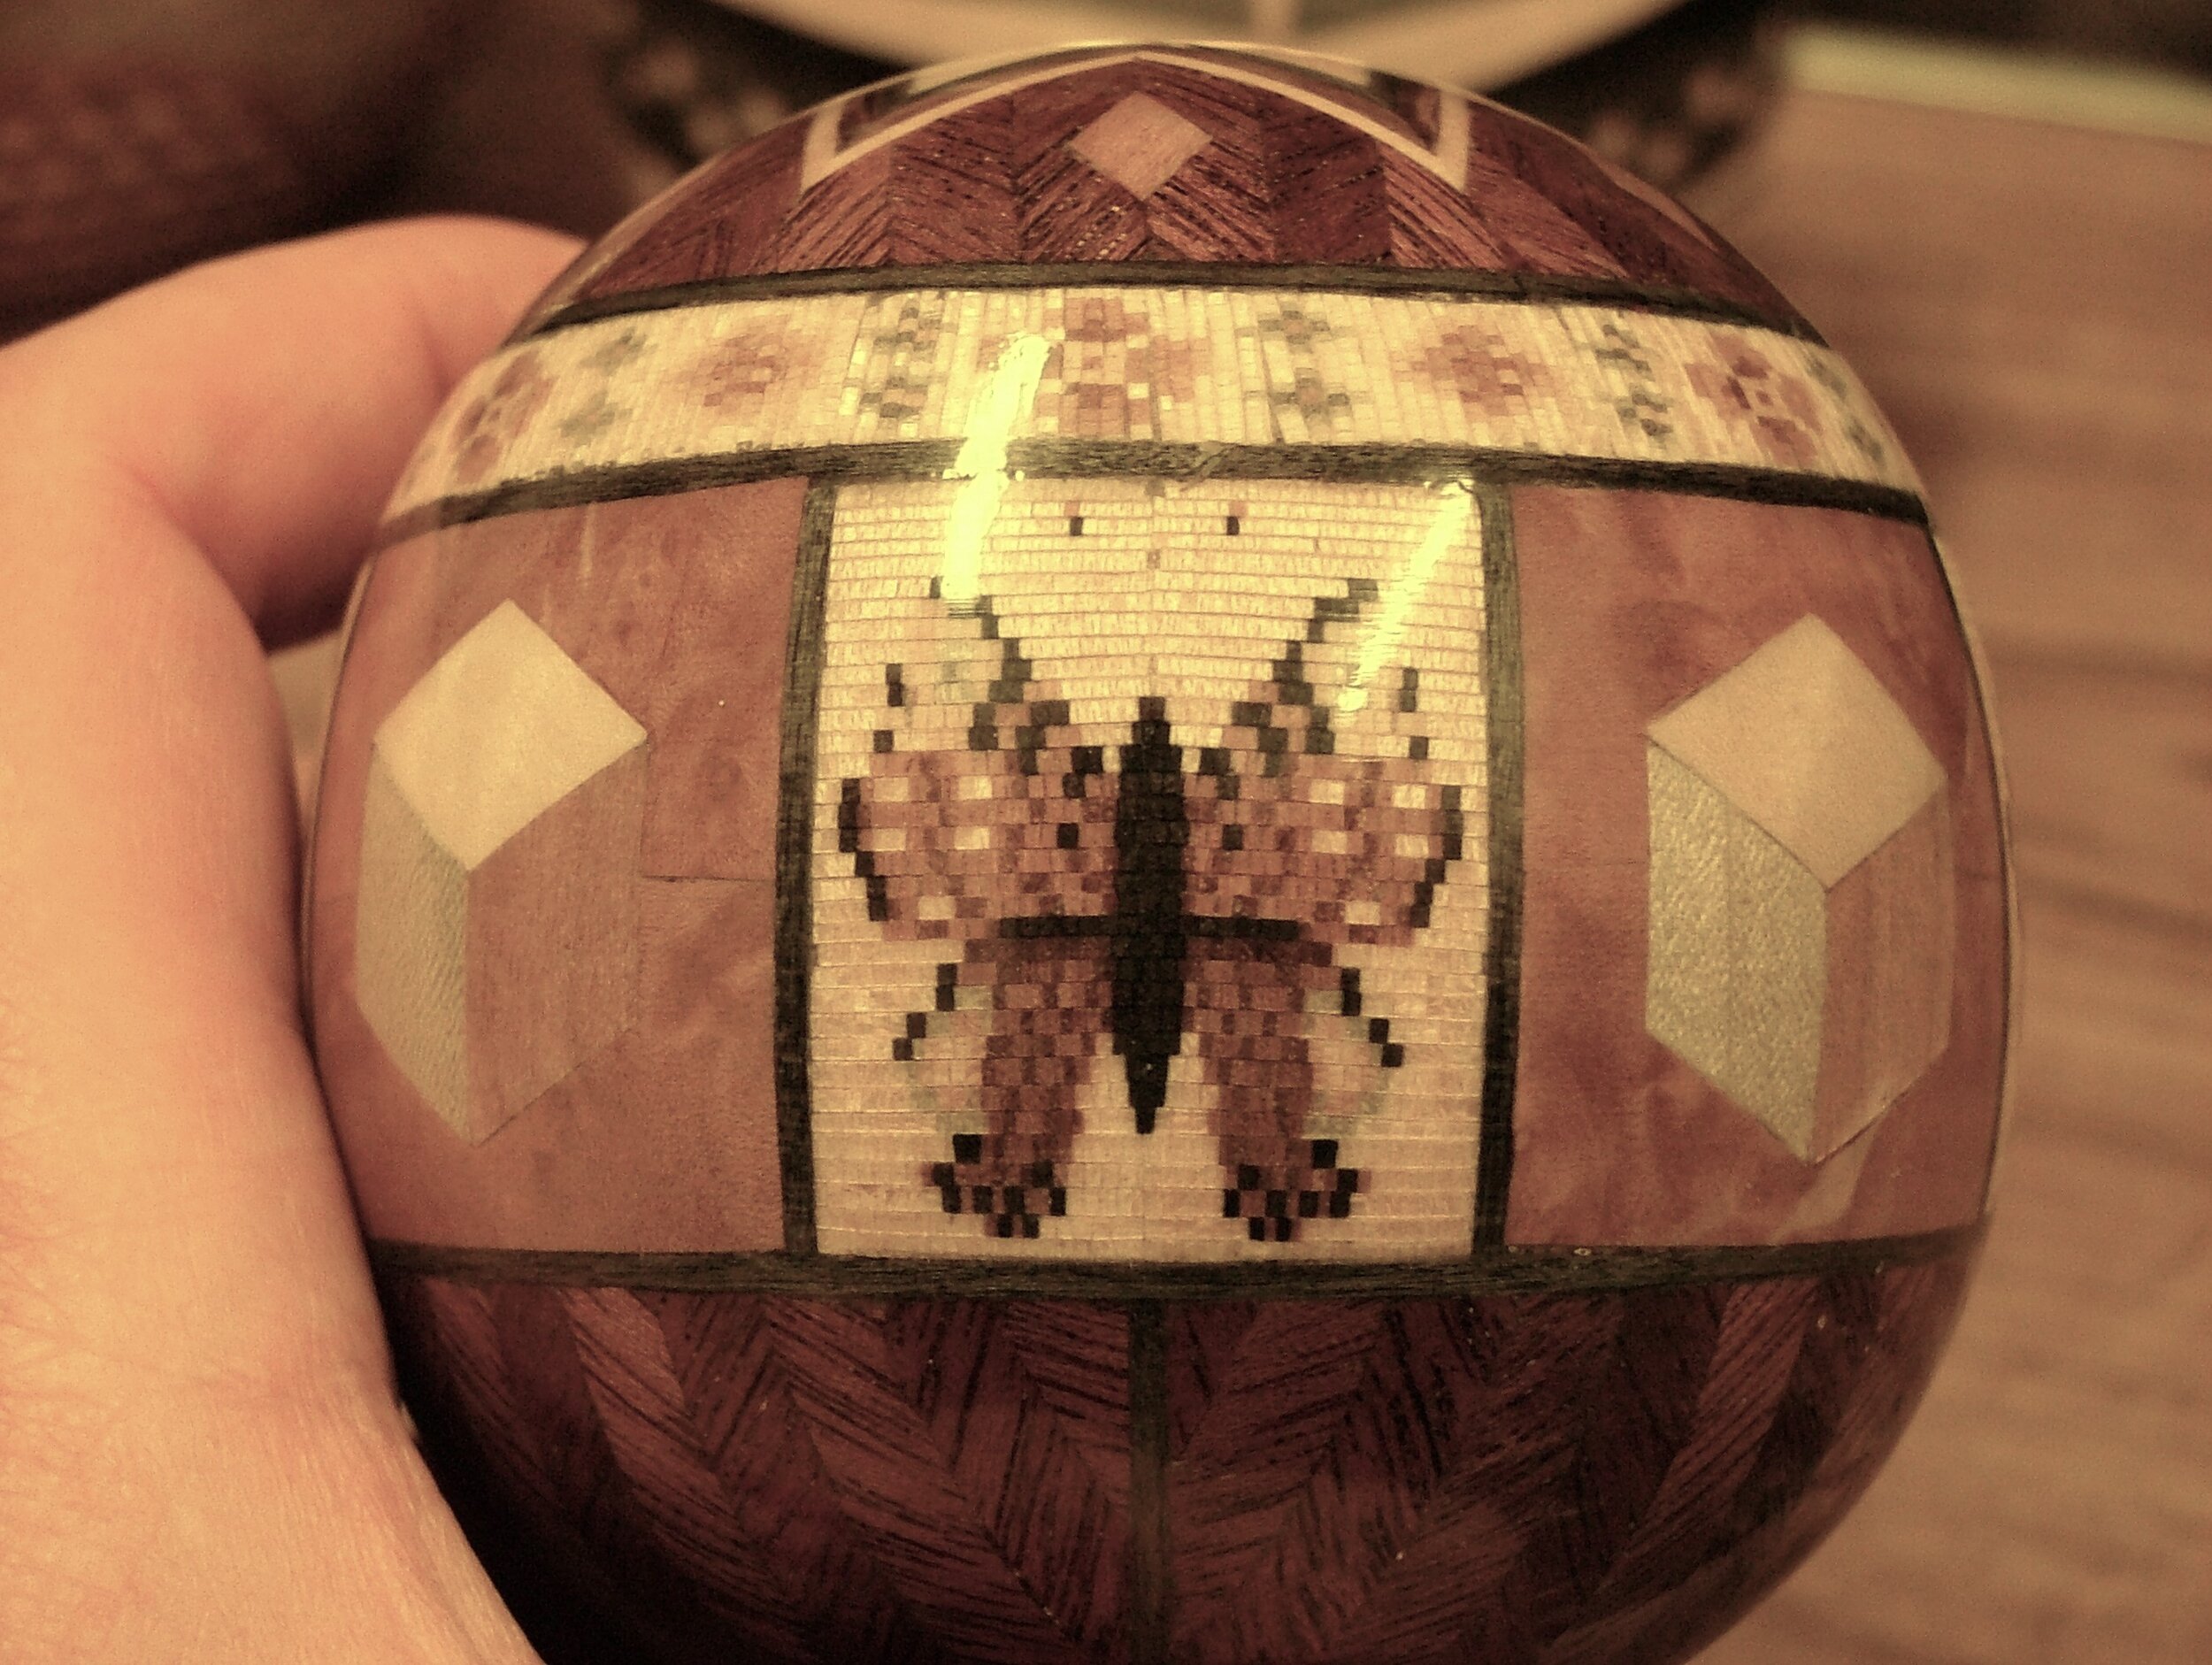
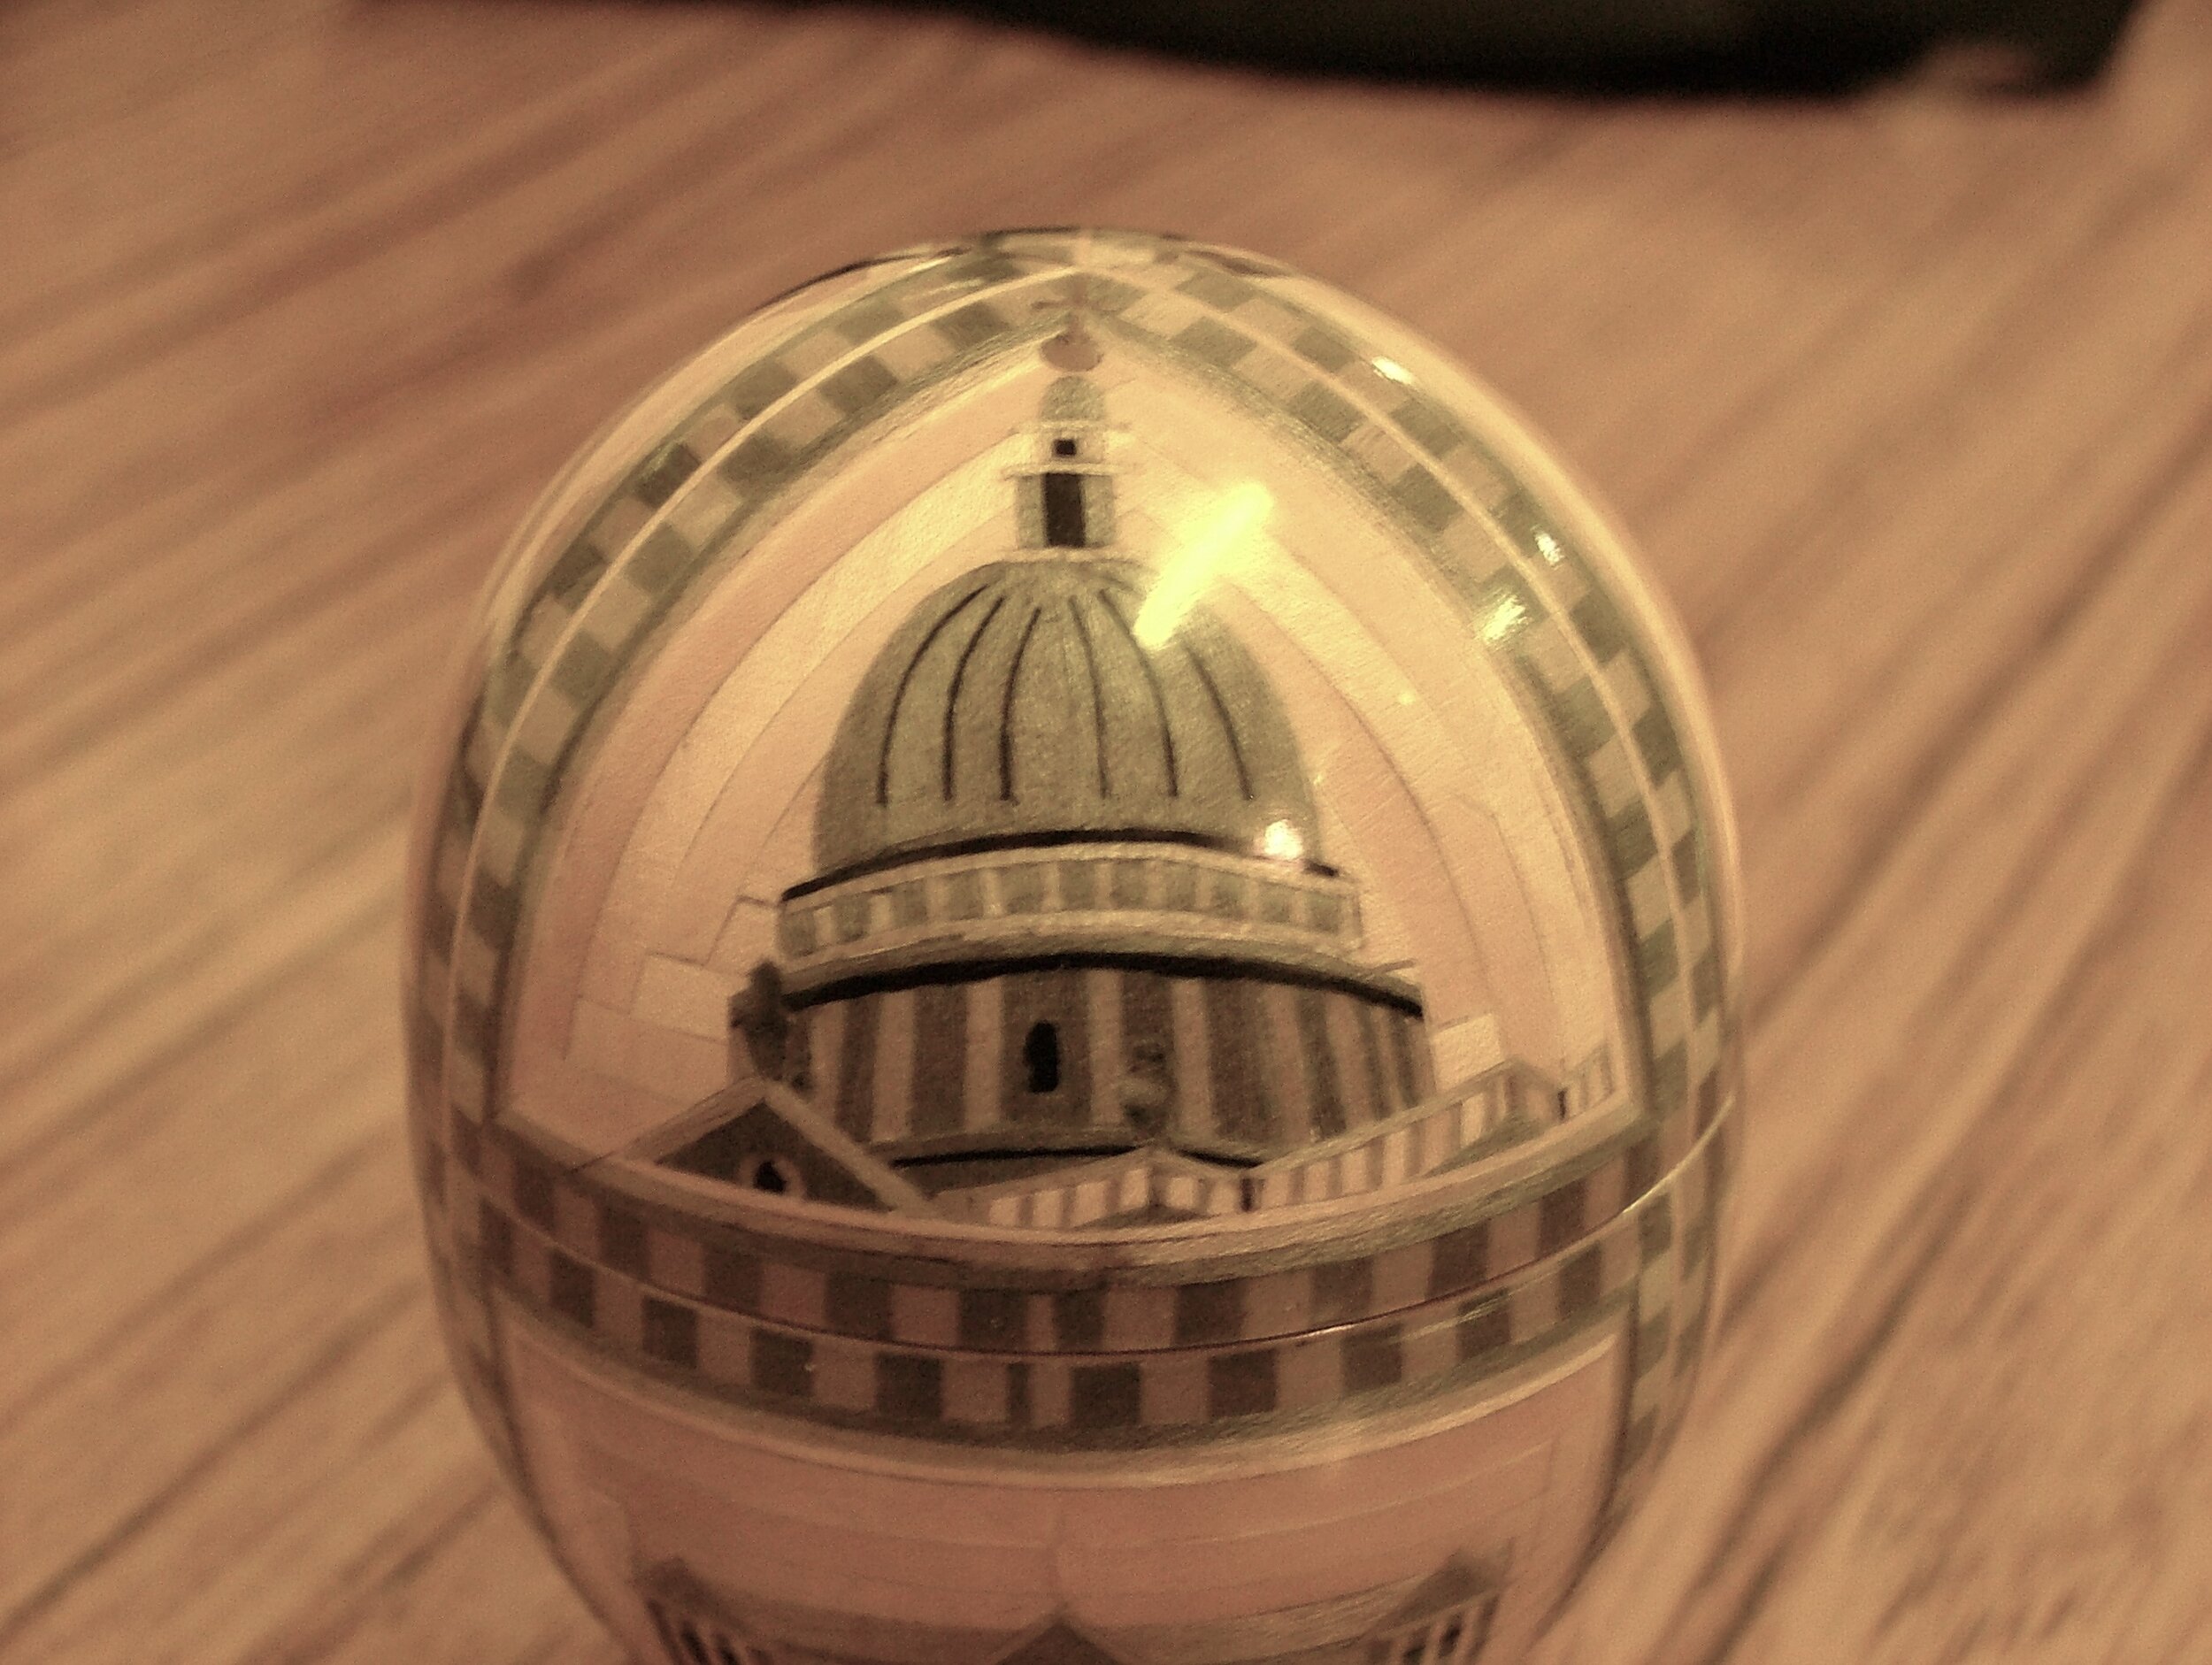
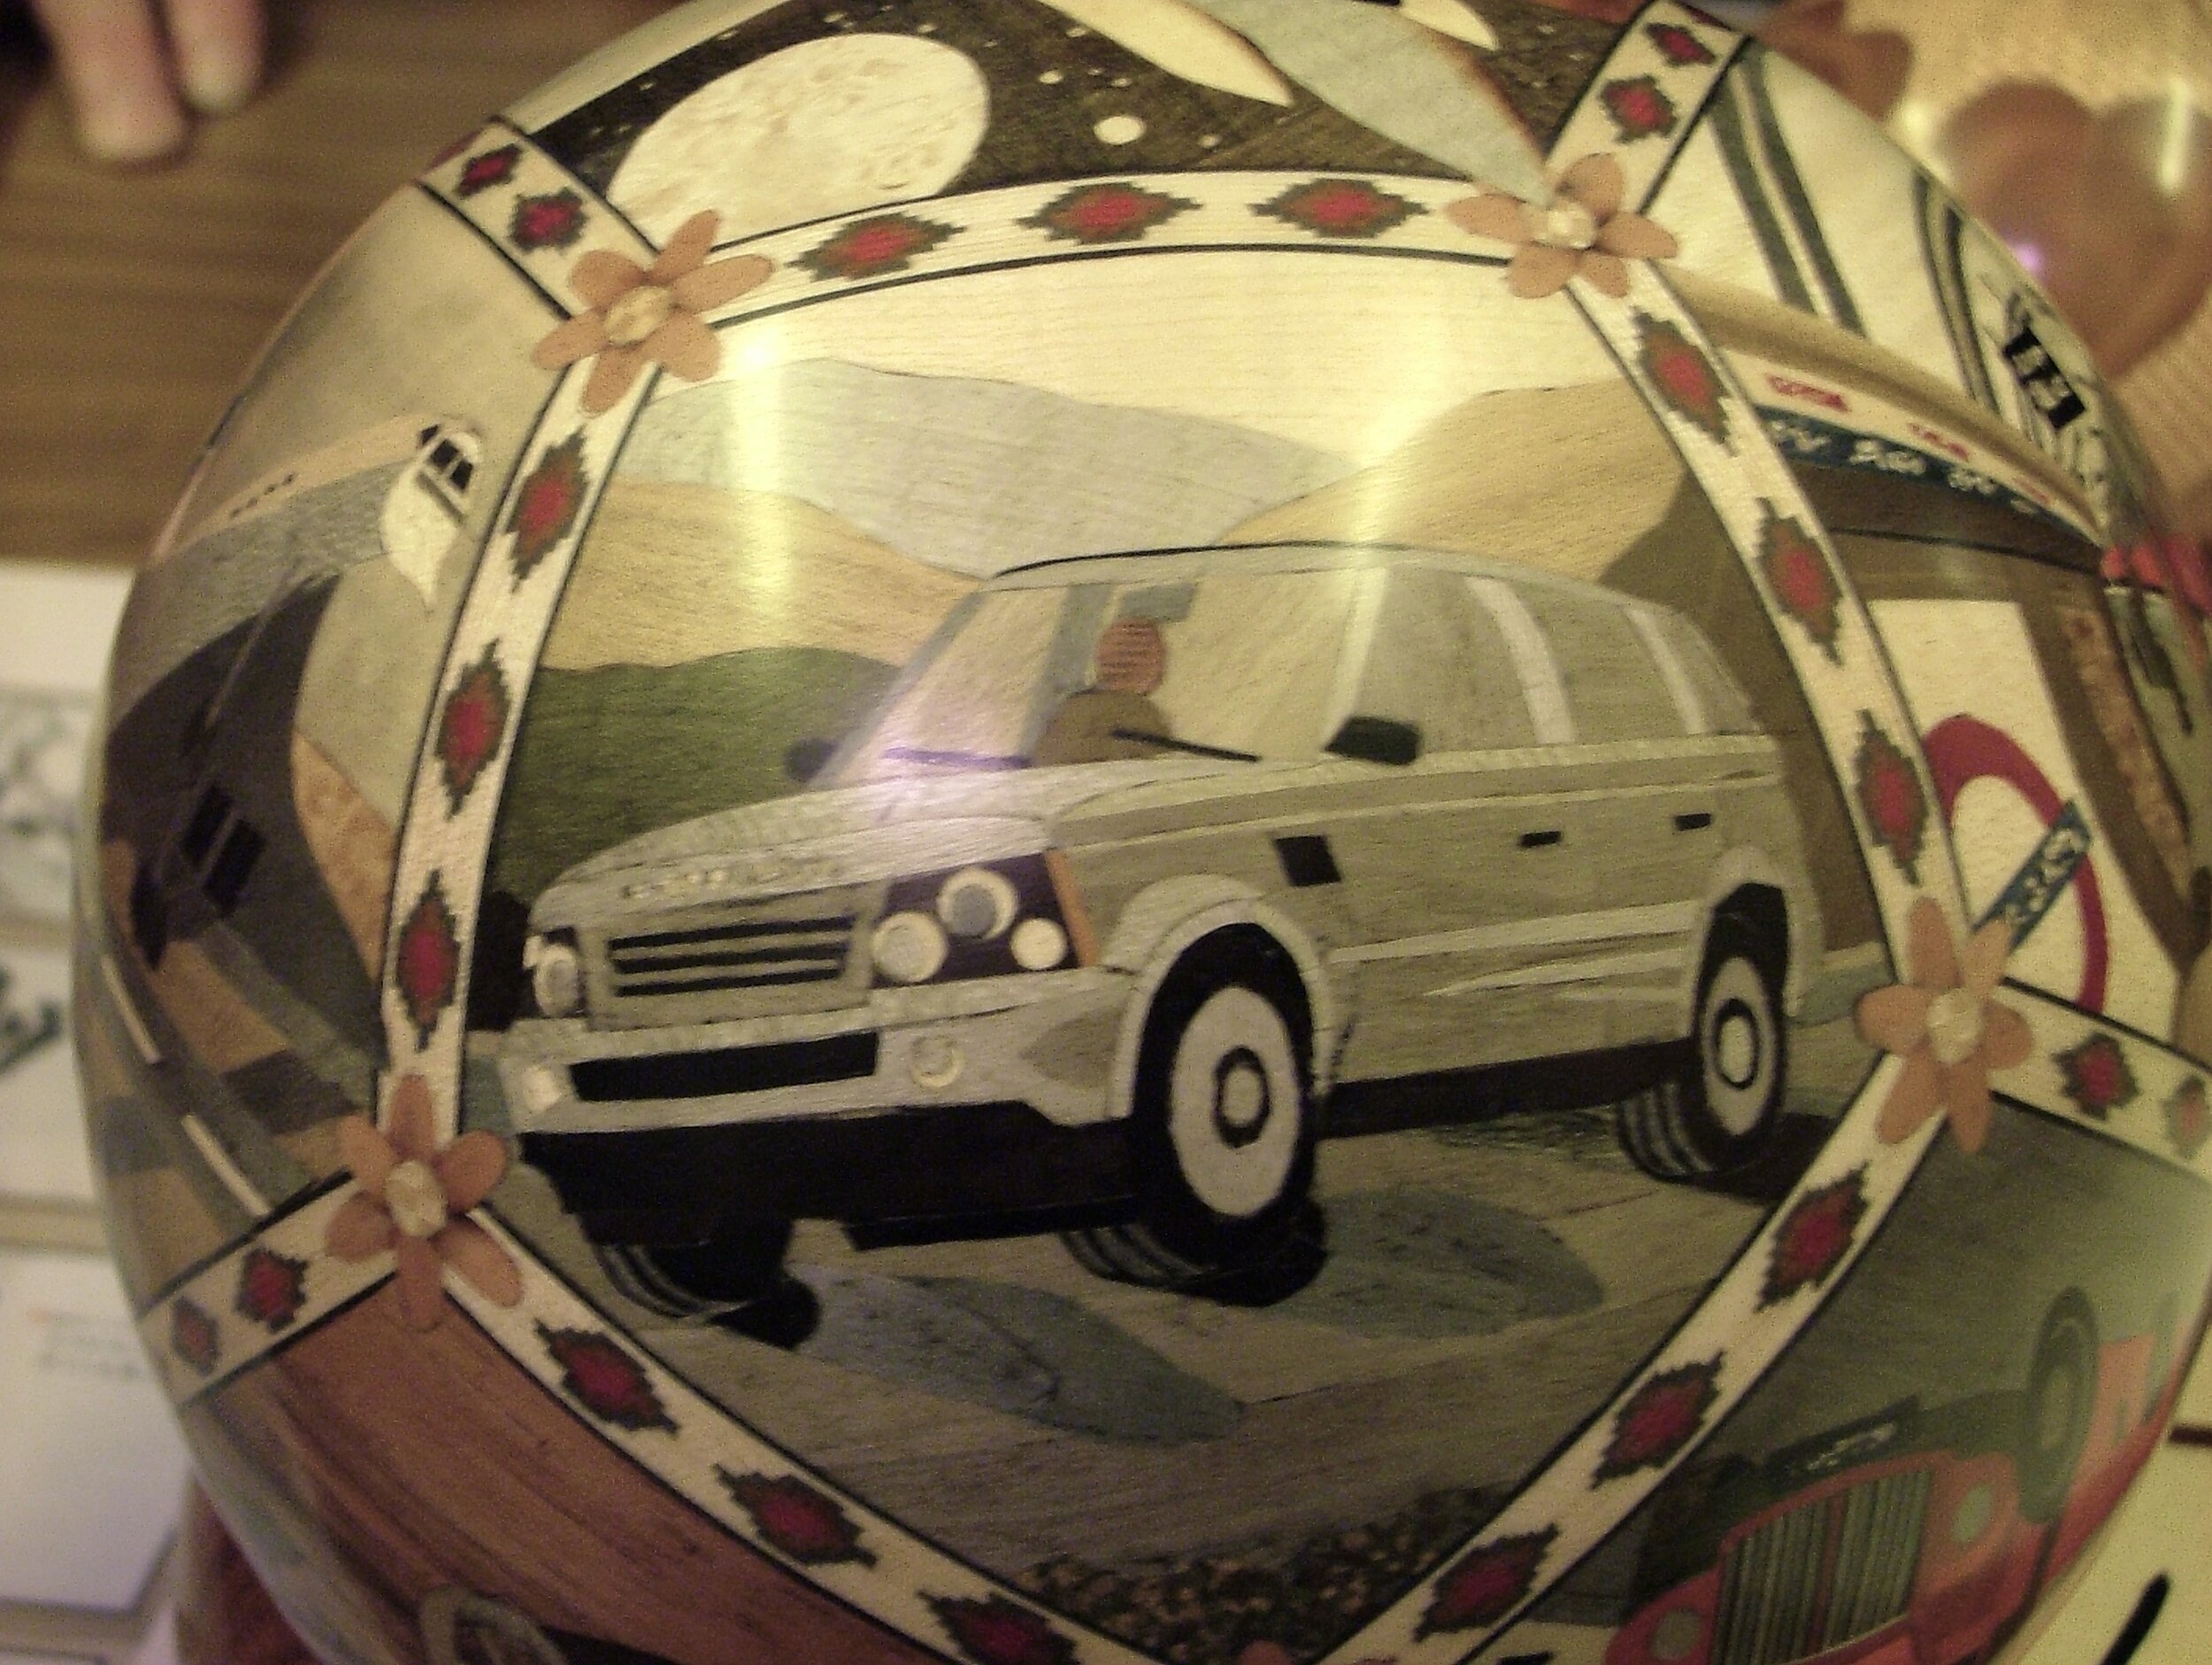
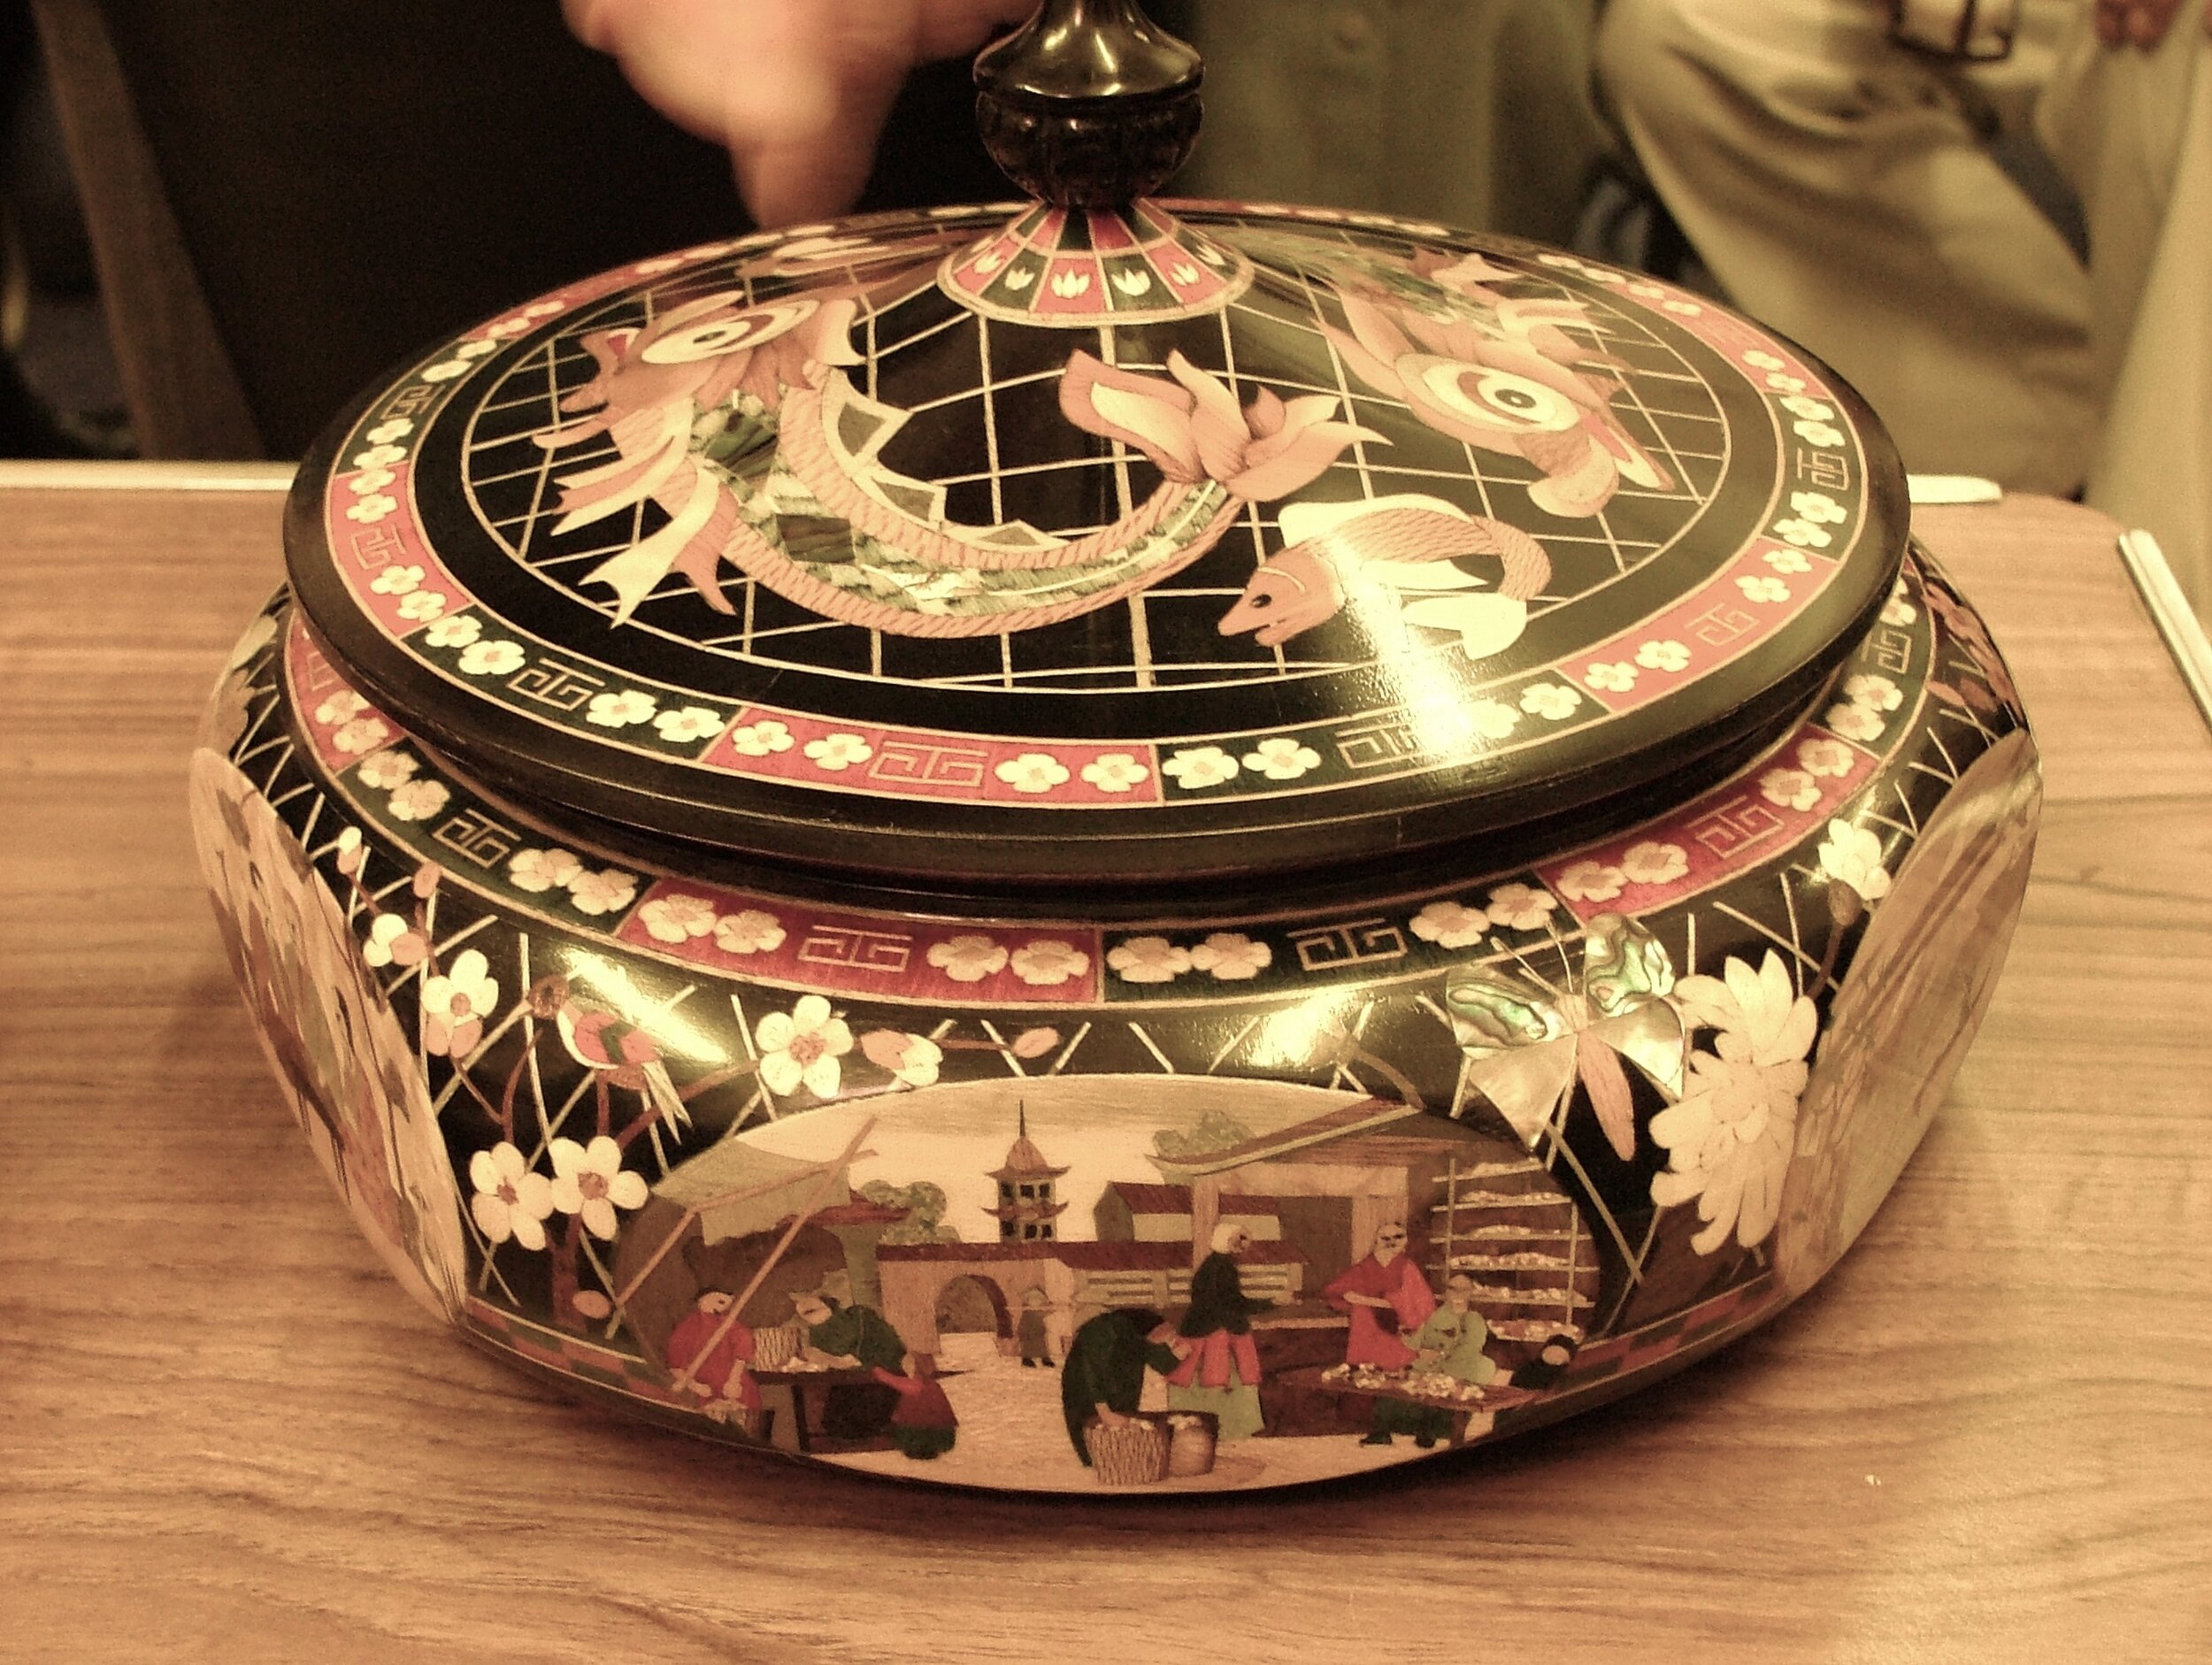
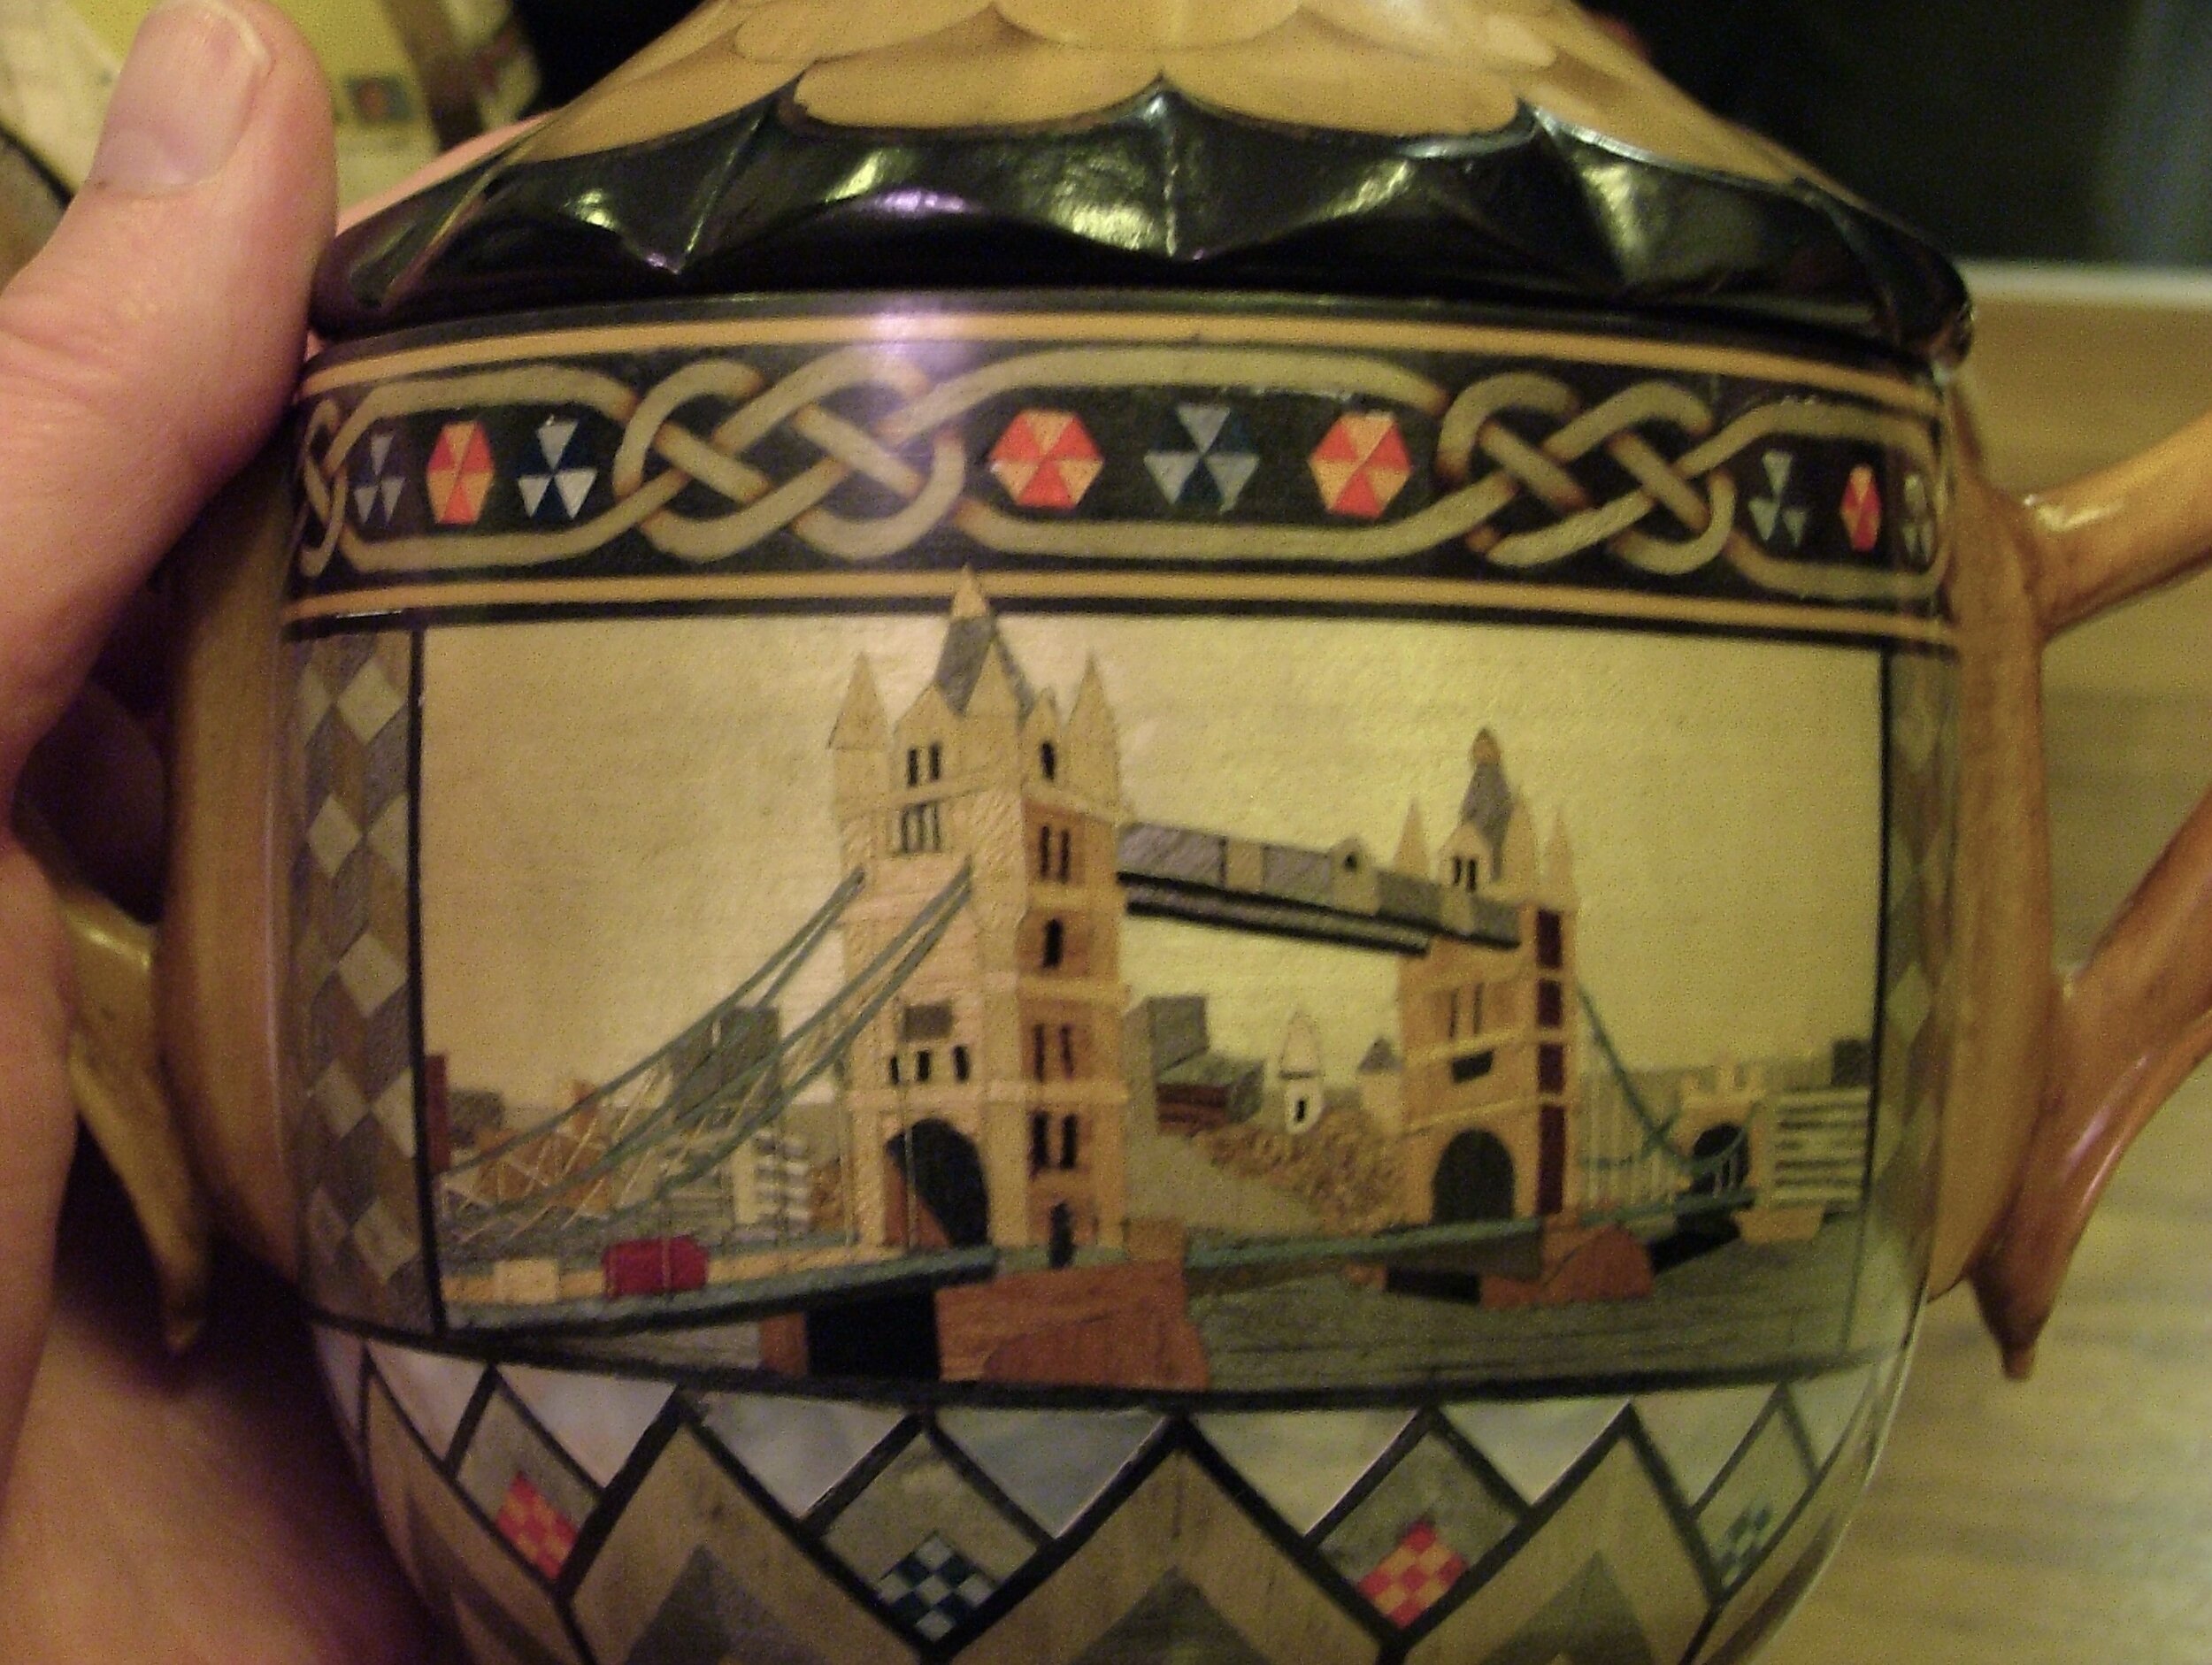
I prepared some picture boards showing the work done for a competition in 2006 and I thought it might be nice to post this on our website so our newer members can have look at an alternative way of creating fine detail that isn’t possible with segmenting
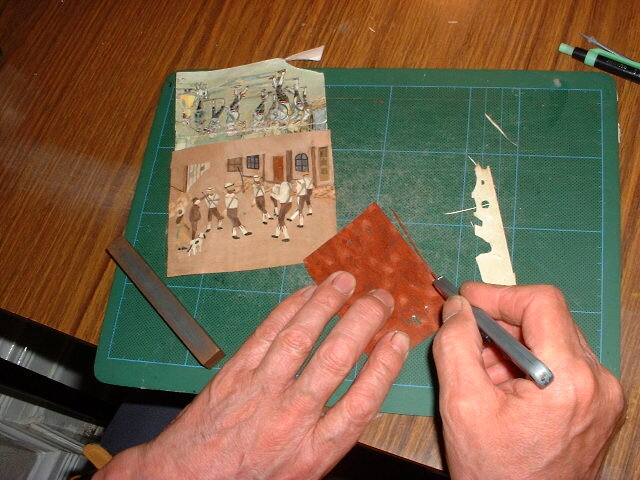
All of these pieces had the veneer carefully stuck onto the round object and I’m sure you will appreciate the dexterity that achieved these results especially when you see the size of the pieces in relation to the fingers holding for the camera.
Question and Answer between Kyle McGill and Ted Higgs
(Kyle) Q - You mention the dexterity in your article, and there is incredible skill in what we can see in the photos, which would take years to hone. What would you recommend as a good starter project?
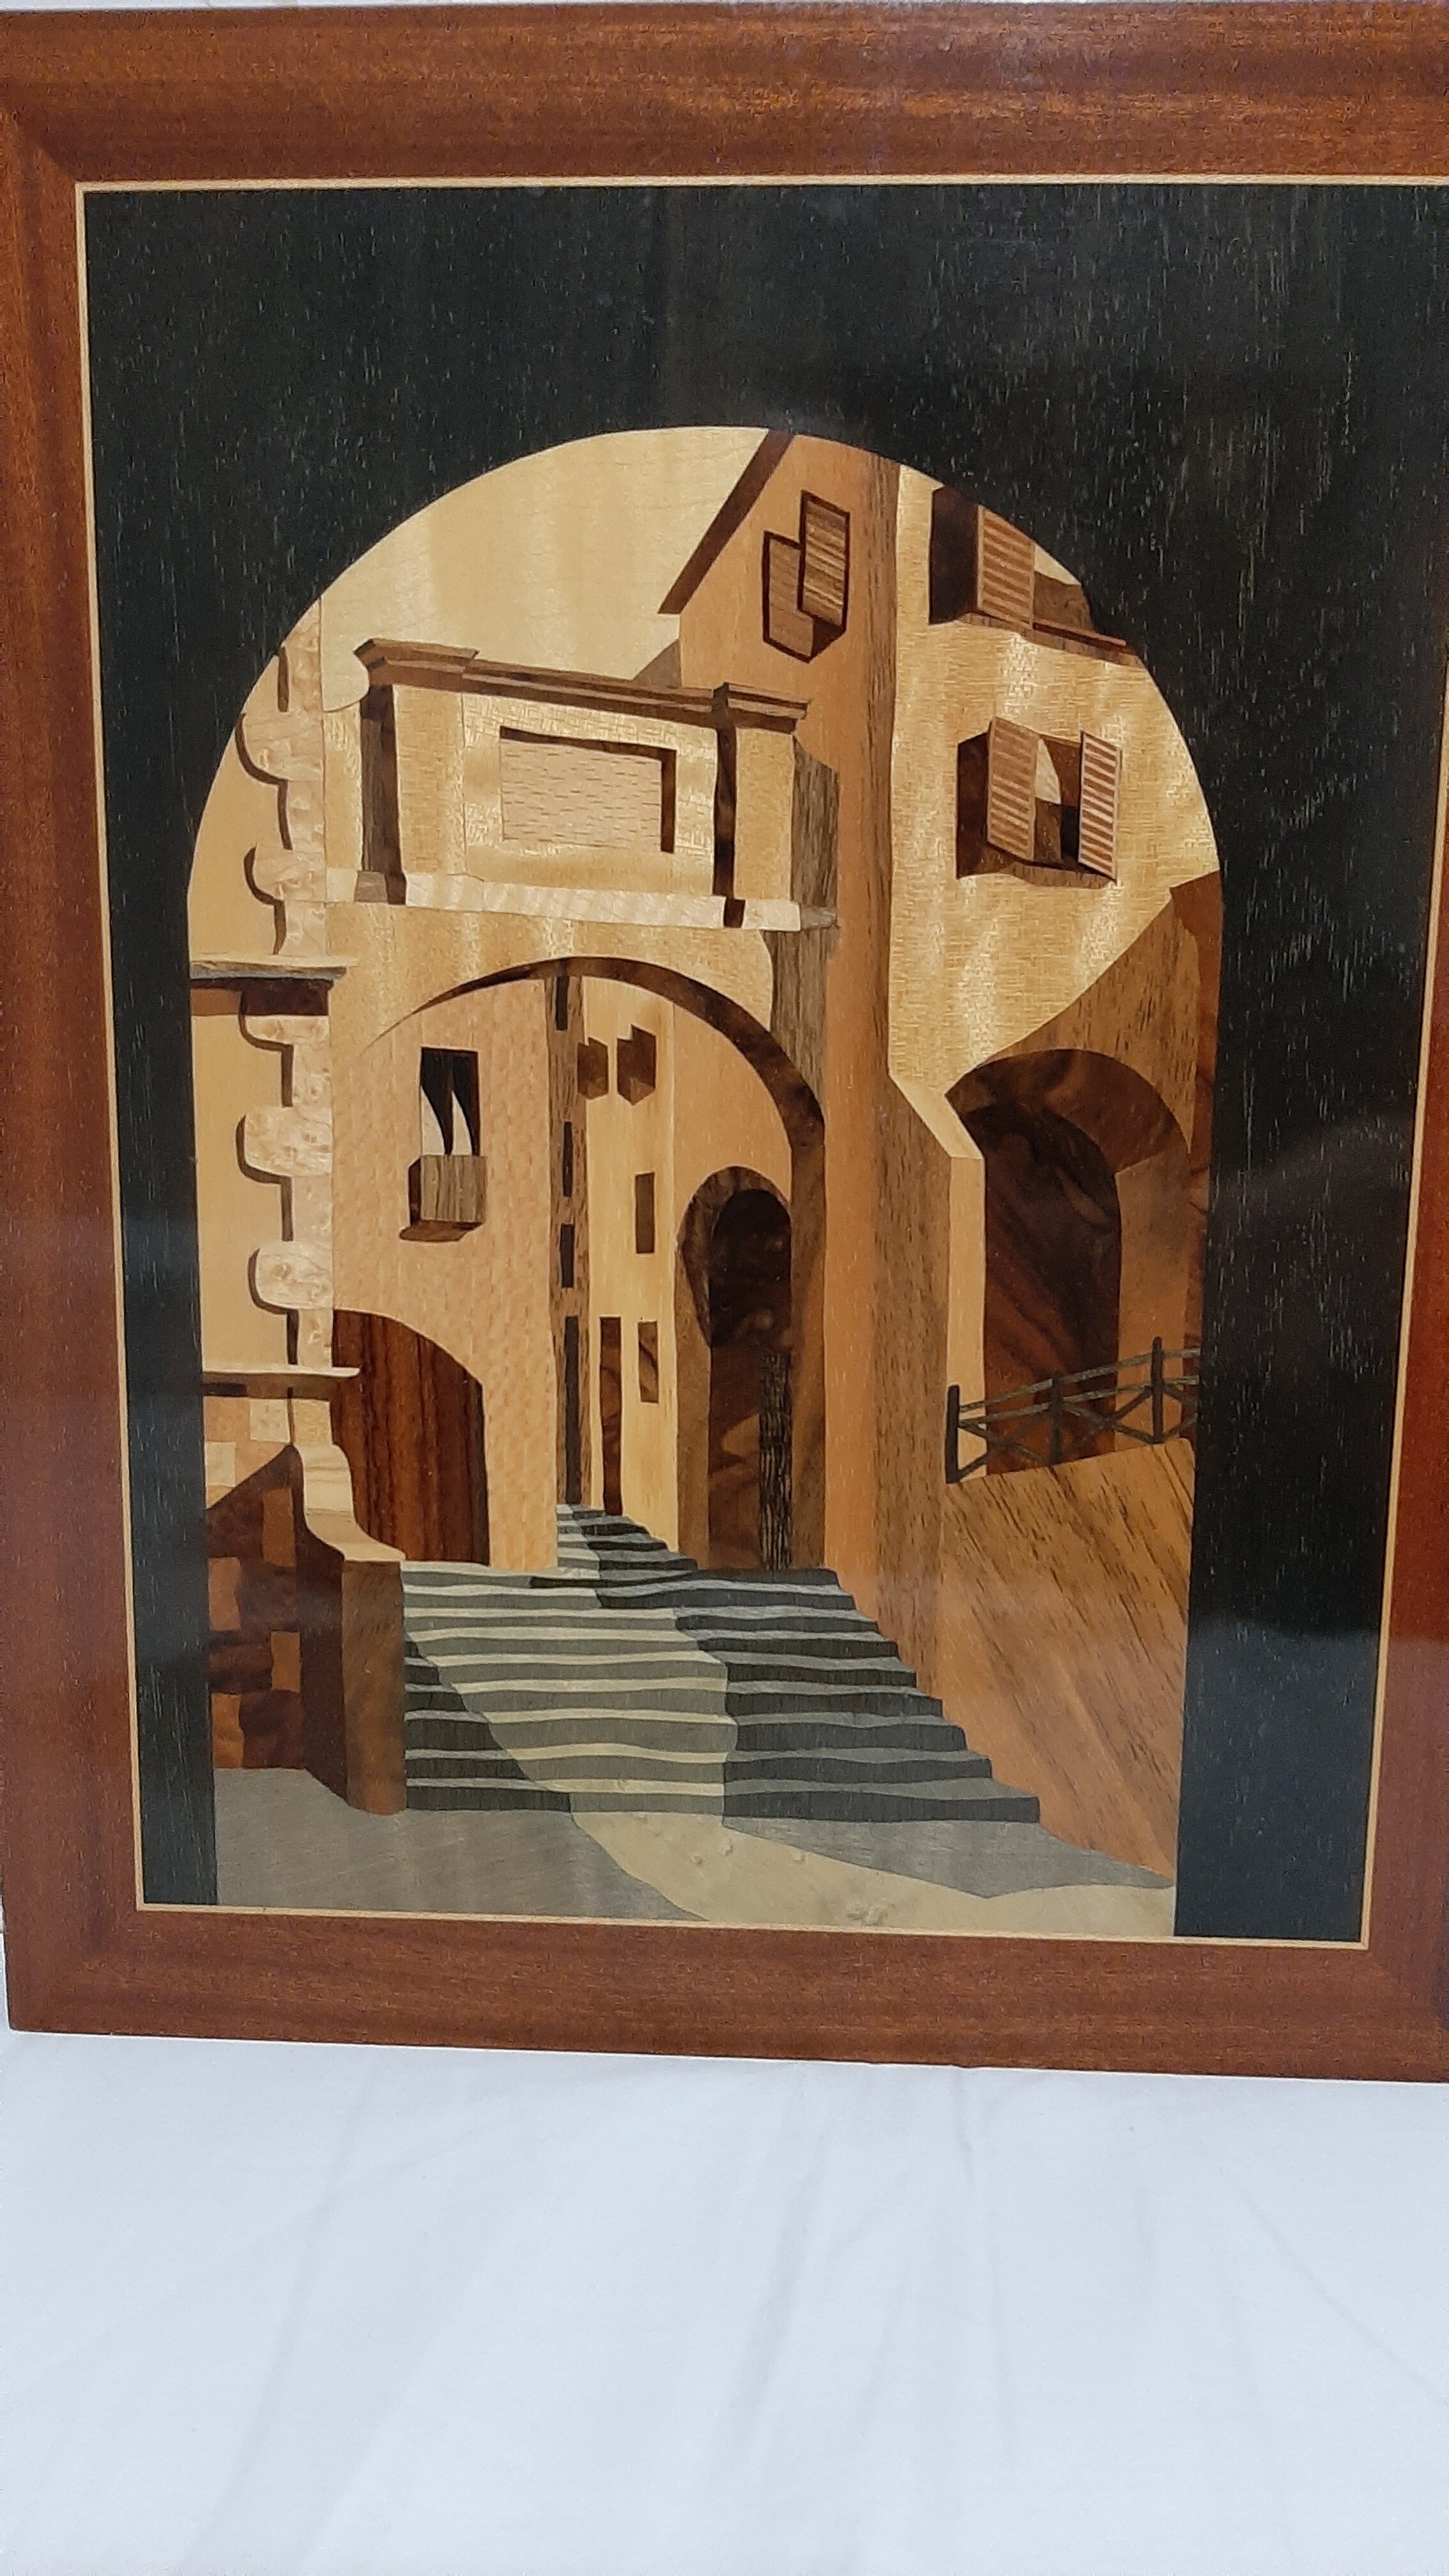
(Ted) A -These round items are quite difficult but most marquetry is done as a flat picture even if stuck on the lid of a box. A simple design where the different veneers can be explored is the usual starting point. Wood tone, grain, burrs and grain direction all play a part in using the veneer as a colour pallette. My first picture measured 33cm x 26cm and I have attached photo of it. The modern method is using a craft knife and the "window" method so each picture remains just a single veneer thickness until completion when it is stuck onto a backing board or object. From a design that is attached to a background sheet of veneer, a window is cut out and then a new piece of veneer is cut through the window using the edges as a guide. The new piece is then set into the window and glue applied around the edge and then rubbed in with a shaped piece of wood. Some examples of work in progress are below.


Q - What equipment would be needed to make a start in marquetry?

Some of Ted’s marquetry equipment
A - Marquetry is a very inexpensive hobby to start. The investment comes with the time it takes. The basic equipment to make the picture is essentially a cutting board, craft knife, PVA glue, paper veneer tape and a supply of veneers. Once completed it needs to be mounted on a board so additional equipment is required for that but local clubs can help with that. The picture show shows a set of my equipment
Q - I imagine, as with wood turning, one slip of the hand could ruin a project. Are there any transferable skills between marquetry and wood turning?
Marquetry is far more forgiving as new pieces of veneer can usually be cut in if it goes wrong. The danger time comes when the completed work is pressed onto a board or object. Probably not the skills as such but marquetry can be used to decorate wood turned items.
Q - What do you see at the biggest challenges moving from one discipline to the other, or looking incorporate them?
There is a cost difference between the hobbies and wood turning is a completely different skill set. However veneers can be incorporated into segmented turning so knowing how to cut veneer is useful.
Q - Are there any good resources that you would recommend for someone to look up if they are interested?
The Marquetry Society have a very informative web site with links to all of the clubs in the UK including the local club in Chelmsford. http://www.marquetry.org/